If you have a small business, and need a website where you can post your hours and contact information, some pictures, and a few articles, most website platforms are either expensive, or hard to use, or both. As much as you need your website, you might also need to get in touch with the website development company to improve further for your website.
Why not check out this redesign WordPress website services here for their passion is to design websites that help get more leads and sell more products?
When my brother wanted to create a classified website for his new massage studio in Western Massachusetts, I did the research and came up with a way for him to do a website easily, quickly, at and almost no cost.
In my daily work, I run self-hosted WordPress sites, or use CMS platforms custom-built for the publications I write for. If you are confident that your website will grow massively, then consider having dedicated hosting plans from the start to save you time later.
My brother doesn’t know WordPress, and doesn’t want to rent server space, and since there is almost no interactivity on his website, he doesn’t really need any development. I could have set up WordPress for him on my own servers, but I wanted him to have something that was fully and completely in his control.
And I wanted to have a system where everything he needed — the domain name, the site, the analytics — was in one, convenient place. So I decided to set him up with Google and Google’s blogging platform, Blogger.
He already had a Gmail account, which you will need to access of Google’s services. If you don’t have one, you can create a new free Gmail account here.
Initial setup
The first step is to find a domain name that isn’t being used yet. There are many places on the Web where you can do a domain search, but I just used Google’s own — Google Domain Search.
Try a bunch of different options until you find one that works. If you are creating a new company name as well, first do a regular Google search for your new name, so that you don’t wind up with a company name that a million other people are already using.
Once you find a domain that works, just click on the cart button, and pay for the domain.
Now follow these steps to create a new Blogger site for your new domain.
You should also set up email addresses for your new domain name. You get 100 free email addresses with each domain you register, and can forward them to any address you like. For my brother, I forwarded his new email from his new domain, [email protected], to his regular Gmail account. I also set up a couple of other ones for him, such as [email protected]. If he hires employees, he’ll be able to create new company emails for them, as well.
If your main email address is a Gmail account, you can also have it look as if your emails come from your company email address. Just follow the steps in the section titled “Send an email from your email alias” in Google’s email forwarding instructions.
Pick a good looking site design
If you’ve followed the above steps, you’ll have noticed that the theme options you get to pick from on Blogger kind of suck. Google is not particularly known for their great design skills. Most of the themes look more suited for teenage girl diaries than for business websites.
But have no fear!
There are actually lots of great looking — and free — Blogger themes you can install instead of the default ones.
I recommend the free Blogger templates from Gooyaabi.
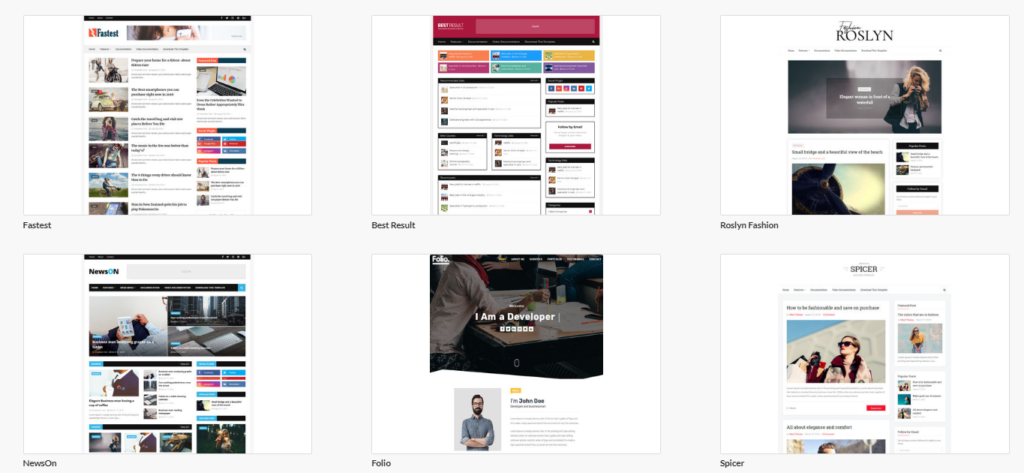
Just look at those beauties!
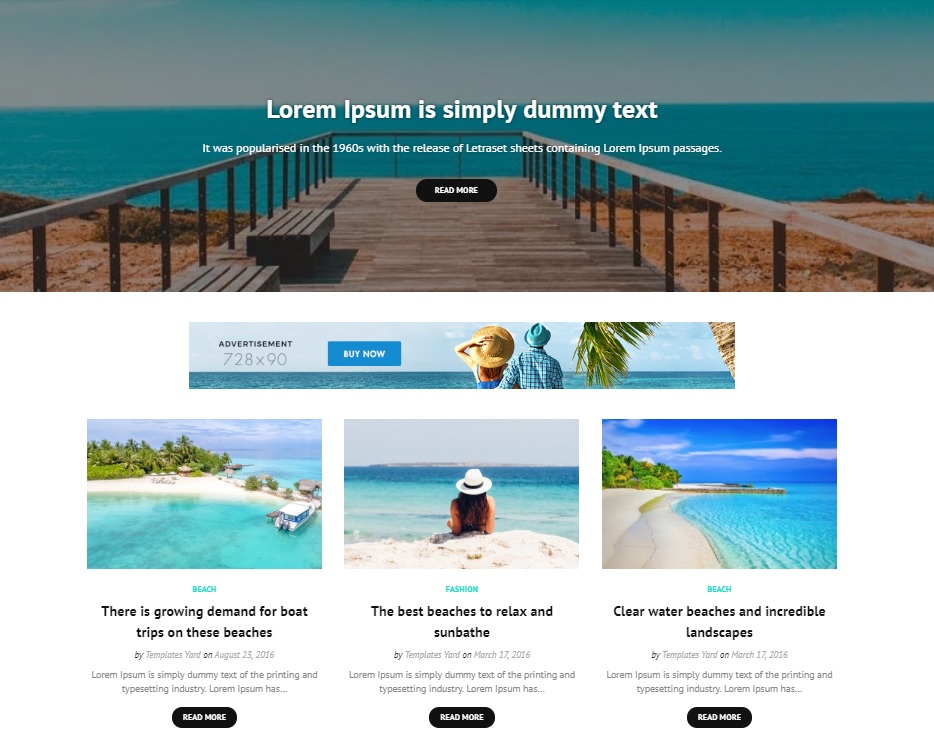
The Adventur theme is a particularly nice one, I think, for a small business:
When selecting a theme, look for the general layout and style. Where are the pictures located, where are the sidebars, how big is the heading, what kind of information is located where?
You’ll be replacing all their sample images with your own, and all the posts with your own posts, so don’t worry about the content on those sample templates. Just think about the general look and feel. Does it look like a site that other business in your category would have?
Then follow these instructions to install your preferred theme to your Blogger website.
If it turns out that you don’t like the way this theme looks after all, you can go back and pick a different one. They’re free, so it won’t cost you anything to try out as many as you’d like.
Upload the basic content
Log into your Blogger dashboard at Blogger.com .
On the left-hand site, you’ll see a sidebar with options such as “Posts,” “Stats,” “Comments,” “Earnings,” “Pages,” “Layout,” and so on.
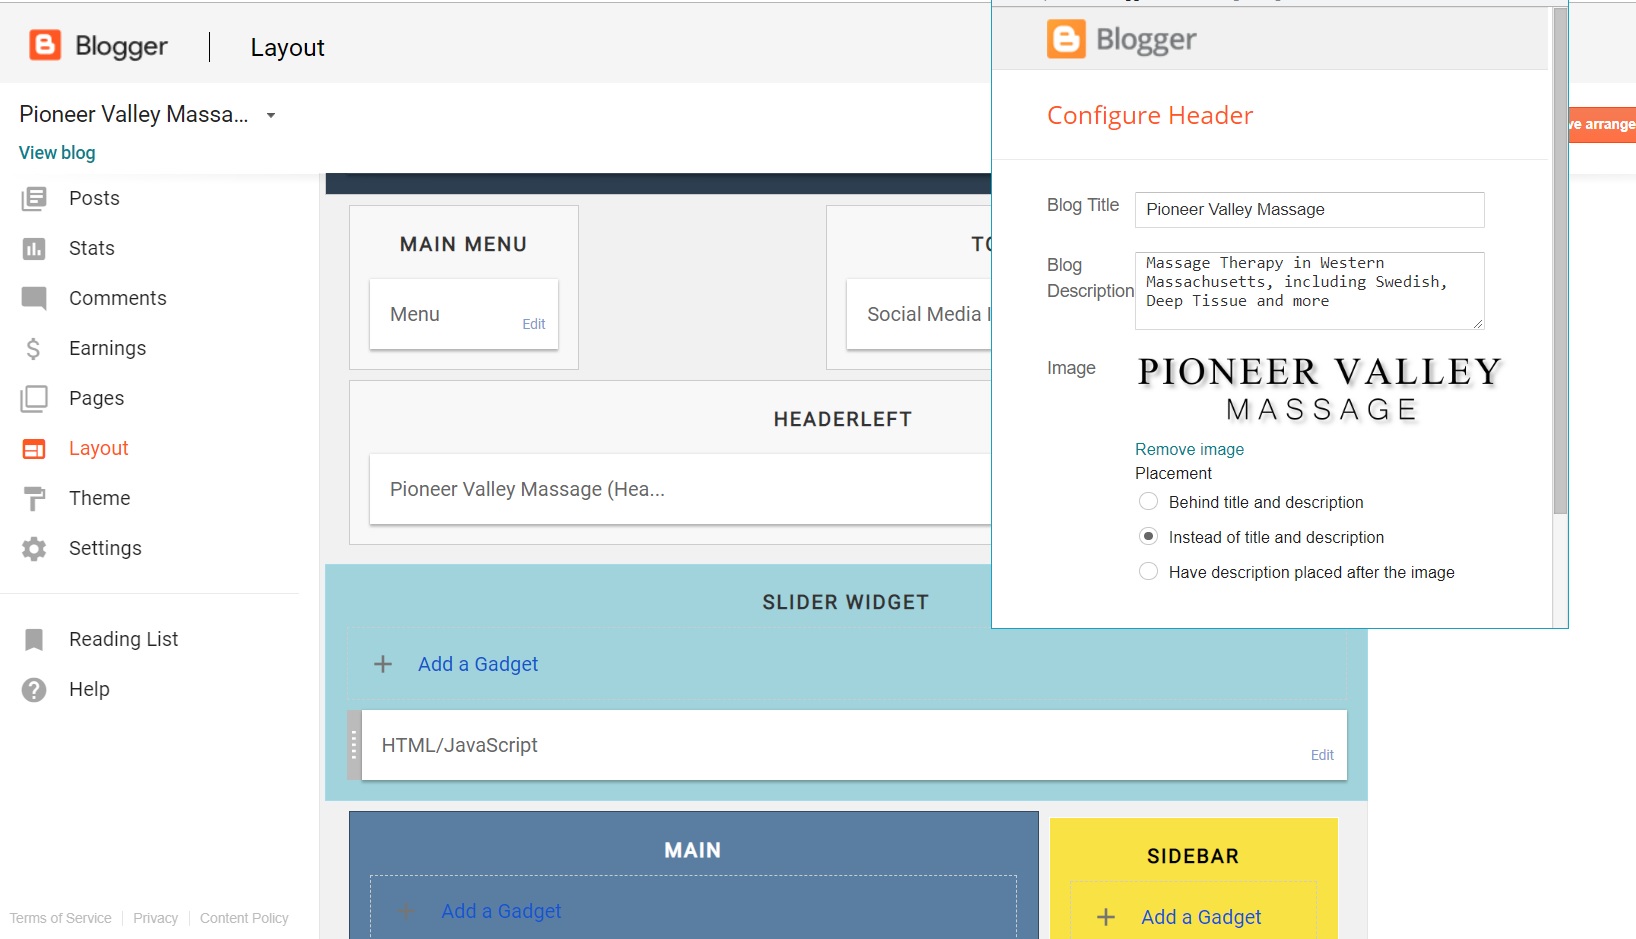
Start out with the Layout option. If you click on it, you’ll see all the different sections of your website, and each section has an “Edit” button on it. If you click on that “Edit” button you’ll be able to change the content in that section. Each theme will have different sections, and different places to add gadgets and widgets.
The first thing you’ll want to do is change the logo. Look for the section titled “Header,” near the top of the page. If you click on the “Edit” button you’ll get a pop-up window where you can change the blog title and description, and add a masthead image.
Then click on the “Pages” option and add your key pages. These should include “About Us” and “Contact Us.”
Other pages you might want to set up are “Our Services,” “Our Hours,” “Driving Directions,” “Customer Testimonials” — the key things people want to know about your business.
You’ll want to have nice graphics on your site. If you already have photographs, you can use those. If you need stock images to use as illustrations, my recommendation for really high-quality free stock photos is Pixabay. Search for any term you want, and ignore the first row of sponsored images — unless you want to buy images.
Scroll down, and look for pictures you like, and click on them to bring up that photo’s details.
For example, I search for “business” and clicked on this image:
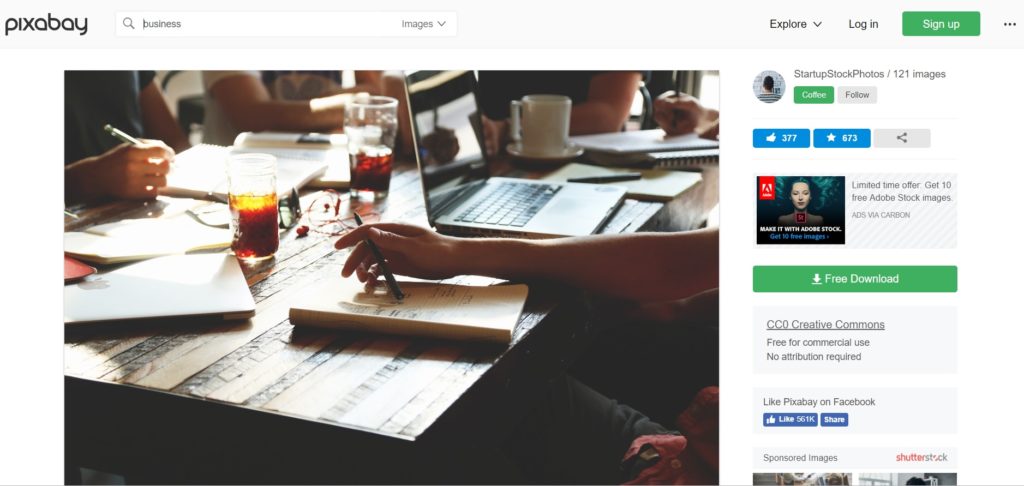
The important thing to look for is the “CC0 Creative Commons” license right under the green “Free Download” button on the right.
This means that you can use the image on a commercial website, and you don’t have pay any money, or include any attribution text. Easy, peasy. Pixabay is big and well-known enough that they do a good job vetting images for quality — and checking that pirated images aren’t uploaded.
Just to be on the safe side, though, you should make a note of where you got the image, in case there are ever any issues down the time. To make life easier for myself, I just add “pixabay cc0” to the end of the suggested file name when I download the image. That way, in the future, I know exactly where it came from and that I have full rights to use the picture any way I want.
After you’ve got the basic company up on the site, add some posts.
The difference between pages and posts is that pages are full of information that doesn’t change very often. Posts are dated announcements.
So your first post might be “Welcome to our site!” Then, next week, you can do a post titled, “Holiday gift ideas from our company.”
Try to have a new post up at least every week or two. It doesn’t have to be long. It could just be a photo of a new menu item, or a quick update about a new service you’re offering, or news about your office dog. You can also put up posts telling people about new videos you’ve uploaded to YouTube, or with new customer testimonials.
Having fresh new posts on your website shows visitors that your company is alive and well, that they didn’t land on a dead website. It’s also good for search engine visibility, since websites with fresh content rank higher.
If you need any help using Blogger, just Google “blogger tutorial” — there are lots and lots of resources online, including some helpful videos.
You can even post from your phone. Here’s the Blogger app for Android. On the iPhone, you’ll have to use Safari to visit Blogger.com, though, and update your blog via the website.
After the website is up
Now that the site is up, create social media profiles for your company.
Here are the instructions for how to set up a business page on Facebook.
Use your new email address to set up a new Twitter account for the business.
You can also set up your free business Instragram account or free business Pinterest account if you plan to share photos, and a YouTube channel for your business if you plan to share videos.
If your business has a physical location, you should claim your Yelp business listing and your Google Maps listing.
Promote your website
To get Google to show your site in search results, you will need to have links to your website out there on the Internet. For example, if your business is “dog massage in Springfield,” you’ll want lots of links to your website on the term “dog massage in Springfield” — but any link at all is helpful. So having a presence on Facebook, Twitter, and other social media will get you those links once you set up the profiles and “about us” sections on those accounts.
As with your website, having fresh content helps.
I recommend automatically re-posting all your Blogger posts to your social media. You can do this manually, or you can use the free IFTTT service to do it for you automatically. For example, this IFTTT applet automatically reposts your Blogger posts to Facebook and Twitter.
IFTTT stands for “if this then that” and it’s a useful service to learn. Just search IFTTT for the services you want to connect, such as “blogger twitter” and it will give you applet suggestions.
You will need to sign in and give IFTTT permission to access your Blogger, Twitter, and Facebook accounts, but this is a well-known service so it’s generally considered safe and reliable. If you decide you don’t like it, you can can the authorizations at any time.
Once you’ve got your posts, photos, videos and what-have-you up on your website and social media pages, share them with everyone you know, and ask them to share them, as well.
Also ask friends and customers for Yelp and Google reviews.
Be nice about it, and don’t push too hard. It also helps if you use your social media profiles to help others. For example, if you’re a local business, share links to local events and fundraisers that are of interest to your community. Or you can share news and articles from elsewhere on the web that would be relevant to your customers. If you share useful information, you’ll be building good social media karma points, so that if you later share something promotional, people won’t mind.
You can also jump-start your marketing with Google and Facebook ads, with posts on Craigslist, and ads on any other services that people would use to find businesses like yours.
Set up analytics
Finally, you’ll want to know how your website is doing.
It used to cost a lot of money to set up a system that would track all the visitors to your website, find out what pages they were visiting and how long they stayed there, and how they found your site.
That was years ago. Today, it’s all free, with Google Analytics.
Here are the instructions for how to set up Google Analytics for your Blogger site.
You can even get an app for your iPhone or Android smartphone, so you can check on how your website is doing.